 Pin It
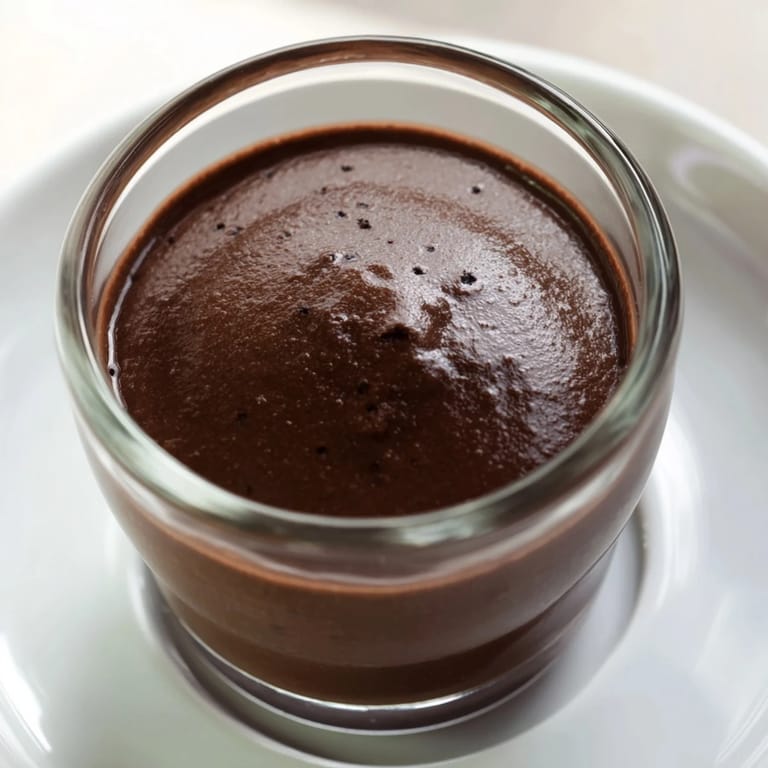
 The first time I made chocolate pudding from scratch, I stood over the stove absolutely mesmerized. Watching thin, milky chocolate transform into this glossy, luxurious pudding felt like pure kitchen magic. My roommate walked in wondering what smelled so incredible, and we ended up eating it warm, straight from the saucepan with two spoons. That impromptu midnight snack became our comfort food tradition during exam weeks, something about that deep chocolate flavor just makes everything feel better.
Last winter, during that terrible snowstorm that kept everyone housebound for three days, my neighbor Sarah knocked on my door. She was going stir crazy and needed something sweet. We made this pudding together, taking turns whisking and chatting while the snow piled up outside. Her kids pressed their faces against the refrigerator glass every five minutes, asking if it was ready yet. When we finally served it in those little glass cups with dollops of whipped cream, Sarah looked at me and said this was exactly the kind of cozy moment she'd been missing.
Ingredients
- Whole milk: The fat content here is crucial for that silky mouthfeel you want, trust me on this one
- Heavy cream: Even just a small amount elevates the pudding from good to absolutely luxurious
- Unsalted butter: Adds that final glossy finish and rounds out all the flavors perfectly
- Granulated sugar: Sweetens without interfering with the chocolates deep flavor profile
- Unsweetened cocoa powder: This intensifies the chocolate taste while keeping the pudding stable
- Cornstarch: The secret to getting that perfect set, not too loose and not too firm
- Salt: Just a pinch makes all that chocolate taste more like itself
- Dark chocolate: Use the good stuff here because its the star of the show, really worth the extra splurge
- Pure vanilla extract: Adds that beautiful background note that pulls everything together
Tired of Takeout? 🥡
Get 10 meals you can make faster than delivery arrives. Seriously.
One email. No spam. Unsubscribe anytime.
Instructions
- Whisk your dry foundation:
- In a medium saucepan, combine the sugar, cocoa powder, cornstarch, and salt, whisking until they're perfectly blended and no cocoa lumps remain visible.
- Build your base:
- Slowly pour in the milk and cream while whisking continuously, taking your time to ensure the mixture is completely smooth before you turn on any heat.
- Work the whisk:
- Set the saucepan over medium heat and whisk without stopping, watching as the thin liquid gradually thickens into something that coats the back of your spoon.
- Add the luxury:
- Remove from heat immediately when you see those first bubbles, then add the chopped chocolate and butter, whisking until they disappear into a glossy pool.
- Finish with flavor:
- Stir in the vanilla extract until fully incorporated, then step back and admire how impossibly smooth and rich your pudding looks.
- Set up for success:
- Pour into individual serving cups and press plastic wrap directly onto the surface to prevent that skin from forming.
- Practice patience:
- Chill for at least two hours, though overnight is even better if you can plan ahead and resist the temptation to sneak a taste.
- The grand finale:
- Serve chilled with whatever toppings make you happy, whipped cream and chocolate shavings never disappoint.
 Pin It
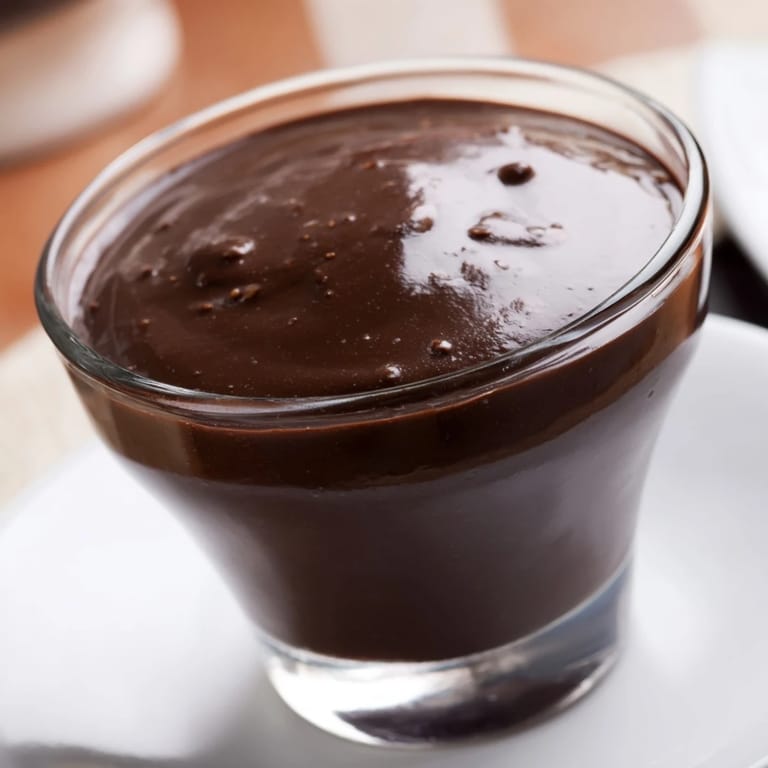
 My grandmother claimed she could tell when someone made pudding from the box versus from scratch just by watching peoples faces. When I finally served her this recipe, she took one bite, closed her eyes, and said now this is what chocolate pudding should taste like. She made me write down the recipe right then and there, in her careful cursive, and I found that recipe card tucked into her cookbook after she passed. Sometimes the simplest recipes carry the most weight.
Making It Your Own
Once you have the basic technique down, this pudding becomes a canvas for whatever flavors you are craving. I have added espresso powder to make it taste like mocha, swirled in peanut butter at the end for a Reese is vibe, and even spiked it with a splash of coffee liqueur for adult dinner parties. The base is so forgiving that almost anything works.
Serving Suggestions That Impress
Individual serving glasses or little ramekins make such a difference in presentation. When I served these at a dinner party, I topped each one with a perfect quenelle of whipped cream and some chocolate curls. My friend actually asked what bakery I bought them from, which might be the highest compliment I have ever received.
Timing And Planning
The actual hands on time for this recipe is incredibly short, which makes it perfect for entertaining. Make it in the morning and it will be waiting patiently in the refrigerator all day. I love having dessert already done long before guests arrive.
- Double the recipe and keep it in the refrigerator for emergency chocolate cravings throughout the week
- The pudding actually develops more flavor overnight, so it is even better on day two
- Make sure to use a saucepan with a heavy bottom to prevent any scorching on the bottom
 Pin It
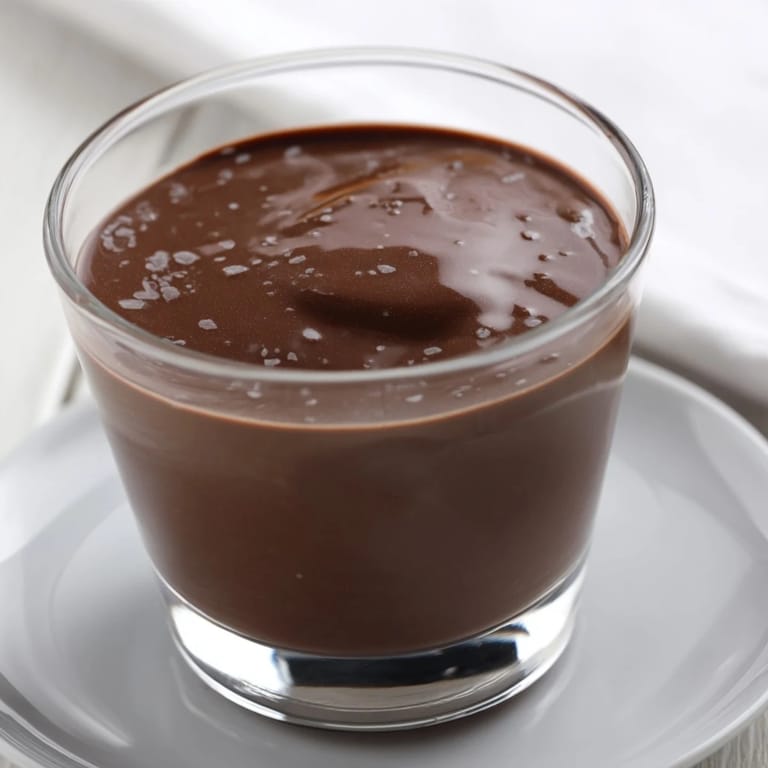
 There is something profoundly satisfying about making pudding from scratch, like you are connecting with generations of home cooks who understood that simple ingredients treated with care become something extraordinary. I hope this recipe finds its way into your regular rotation.
Recipe FAQs
- → How long does the pudding need to chill?
Refrigerate for at least 2 hours until completely set. For best results, chill 3-4 hours to allow flavors to fully develop.
- → Can I use milk chocolate instead of dark?
Yes, though the final result will be sweeter. Reduce sugar by 1-2 tablespoons when using milk chocolate to balance sweetness.
- → Why place plastic wrap directly on the surface?
Direct contact prevents a skin from forming as it cools, ensuring the pudding remains perfectly smooth and creamy throughout.
- → How do I know when it's thick enough?
The mixture is ready when it coats the back of a spoon and bubbles gently while whisking. This takes 5-7 minutes over medium heat.
- → Can this be made ahead?
Absolutely. Prepare up to 2 days in advance and keep refrigerated. Add toppings just before serving for the freshest presentation.